In this article we look at a Electronic Windmill Shaped Red LED Flashing Light Lamp which can be purchased as a kit, board and components
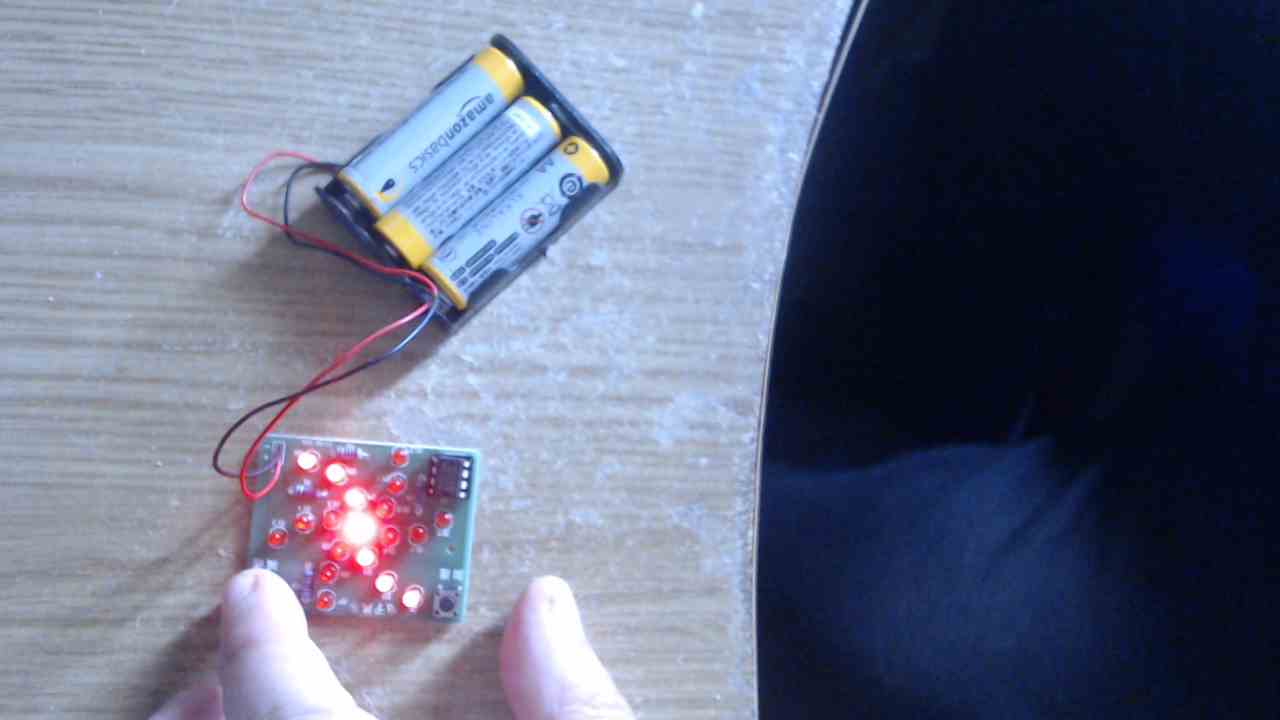
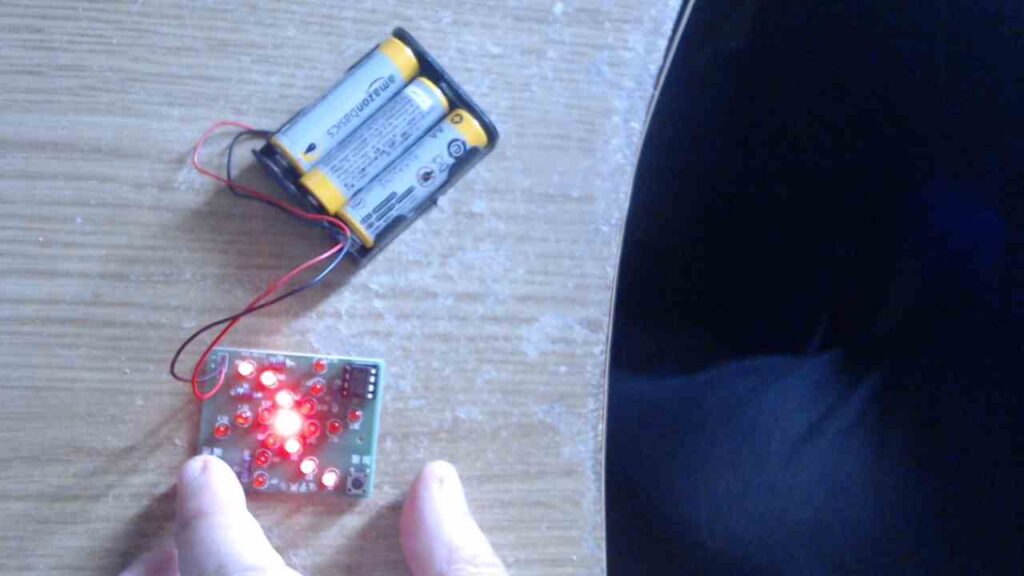
I fitted the battery pack, you do not get this with the kit, You can see in the image below the size of the kit and it is assembled.
Specs
The circuit is based on an MCU, in this case its a STC15F104EA.
The MCU controls the speed of the LED lighting, so as to achieve the effect of windmill rotation.
The speed of the windmill can be changed by pressing the buttons. One of the buttons will speed up the rotation and the other will slow the rotation.
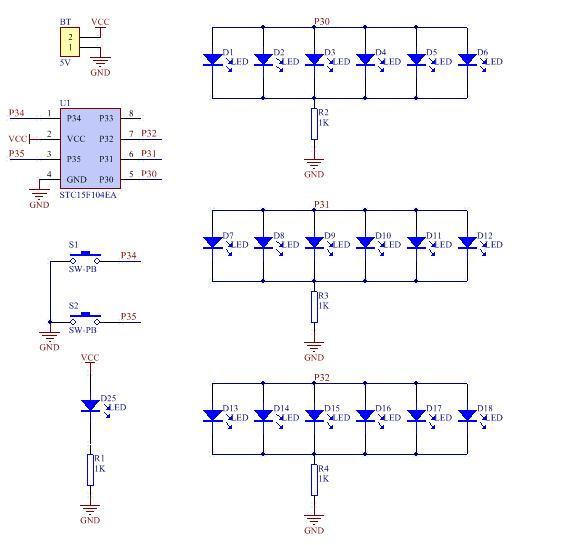
Schematic
You can see that the LED’s are split into 3 groups and 1 of them is permanently on when power is applied
Parts List
Easy to assemble kit, simply follow this basic guide
Install the 1K resistors, now install all the 19pcs LEDs
Install the IC chip, I fitted a 8 pin socket as I don’t like soldering IC’s to the board
Now install the buttons and 2 pin header – you can see that I fitted a 4.5v battery pack as in the image earlier in the article
| Component | Marking | Quantity |
| 3mm Red LED | D1-D19 | 19 |
| 1K Metal Film Resistor | R1-R4 | 4 |
| Button | S1,S2 | 2 |
| STC15F104EA | U1 | 1 |
| 2 pin header | DC | 1 |
| PCB | 1 |
Purchase
Varying prices and you have to factor in shipping and time for shipping but you can see the variation on even a kit like this
| Aliexpress.com | £0.96 + shipping |
| ICSTation | $2.98 |
| Amazon Com | $6.99 |
Summary
A very easy to solder kit for beginners with no smt parts, low cost.
All parts were present
I fitted an 8 pin socket as I had these parts but that did not come with the kit
One disappointment for me is so far I have not found the code for the mcu, so if the part fails then you cannot reprogram or buy a replacement part and program. I also like to see the code – you can maybe tweak it and change the code and reprogram.
Just a minor quibble and as this is a beginner kit, probably not something that a beginner would do


